Connect a Brokerage
Let users connect their brokerage accounts inside your platform. First complete OAuth and user sign-in, then install @trade-it/react.
Required scope: brokerage:write. Signing in to Trade It authorizes your platform; connecting a brokerage is a separate step.
How It Works
- Your server uses the user's Trade It token to request a connect session URL.
- Your client-side app passes that URL into the React SDK.
- The user selects a brokerage, authorizes it, and returns to your platform flow.
Server side: Request a Connect Session URL
Call Trade It's API server-side to get a url to the connection portal. The URL is pre-authenticated so the user does not need to log in.
Request
POST https://api.tradeit.app/api/session/url
Content-Type: application/json
Authorization: Bearer <user's trade it access token>

{
  "target": "connect"
}
This opens a connection portal showing every active brokerage. To launch a particular brokerage directly, use its brokerage code:
{
  "target": "connect",
  "brokerageCode": "charles_schwab"
}
Request Fields
| Field | Type | Required | Possible values and behavior |
|---|---|---|---|
target | string | Yes | connect |
brokerageCode | string | No | A code from Supported Brokerages. Opens that brokerage directly. Cannot be combined with brokerageFilter. |
brokerageFilter | object | No | Customizes the brokerage picker. Omit it to show every active brokerage. Cannot be combined with brokerageCode. |
brokerageFilter.supports | string[] | No | Any combination of stock, crypto, options, fractional-shares, notional-orders, take-profit, and stop-loss. A brokerage must support every listed capability. |
brokerageFilter.include | string[] | No | Brokerage-code allowlist, for example ["charles_schwab", "robinhood"]. When present, brokerages outside the list are hidden. |
brokerageFilter.exclude | string[] | No | Brokerage-code denylist, for example ["tastytrade"]. Exclusions take precedence over include. |
Customize the Brokerage Picker
Use brokerageFilter when your product should show only brokerages that fit its trading experience:
{
  "target": "connect",
  "brokerageFilter": {
    "supports": ["options"],
    "exclude": ["tastytrade"]
  }
}
This example shows every active options-supporting brokerage except Tastytrade. The picker always omits inactive brokerages. If no active brokerage matches, Trade It omits the restriction and shows the full picker.
Response
{
  "url": "https://tradeit.app/connect?ti_token=ti:...&embedded=1",
  "expiresAt": "2026-02-27T19:35:12.000Z",
  "feature": "connect"
}
Request this URL immediately before opening the modal. It expires after 30 minutes and should not be cached for reuse.
Server side: implement your route
Create POST /api/tradeit/connect on your server. Require your platform session and your framework's CSRF protection, load that user's saved Trade It token, refresh it if needed, and send the request above. Return the resulting JSON to the browser. The browser may receive the short-lived session URL; it must never receive the OAuth tokens or Client Secret. Treat session URLs as sensitive and exclude them from logs and analytics.
Client side: Open the Connection Modal
import { TradeItModal, useTradeIt } from '@trade-it/react';

function ConnectBrokerageButton() {
  const tradeIt = useTradeIt();

  async function openConnect() {
    const res = await fetch('/api/tradeit/connect', { method: 'POST' });
    if (!res.ok) throw new Error('Unable to open the connection modal');
    const data = await res.json();

    tradeIt.openConnect({
      launch: {
        mode: 'connect',
        url: data.url,
      },
    });
  }

  return (
    <>
      <button onClick={openConnect}>Connect a Brokerage</button>
      {tradeIt.modalProps && <TradeItModal {...tradeIt.modalProps} />}
    </>
  );
}
Connection Flow
This is the experience your users see inside your platform when they connect a brokerage.
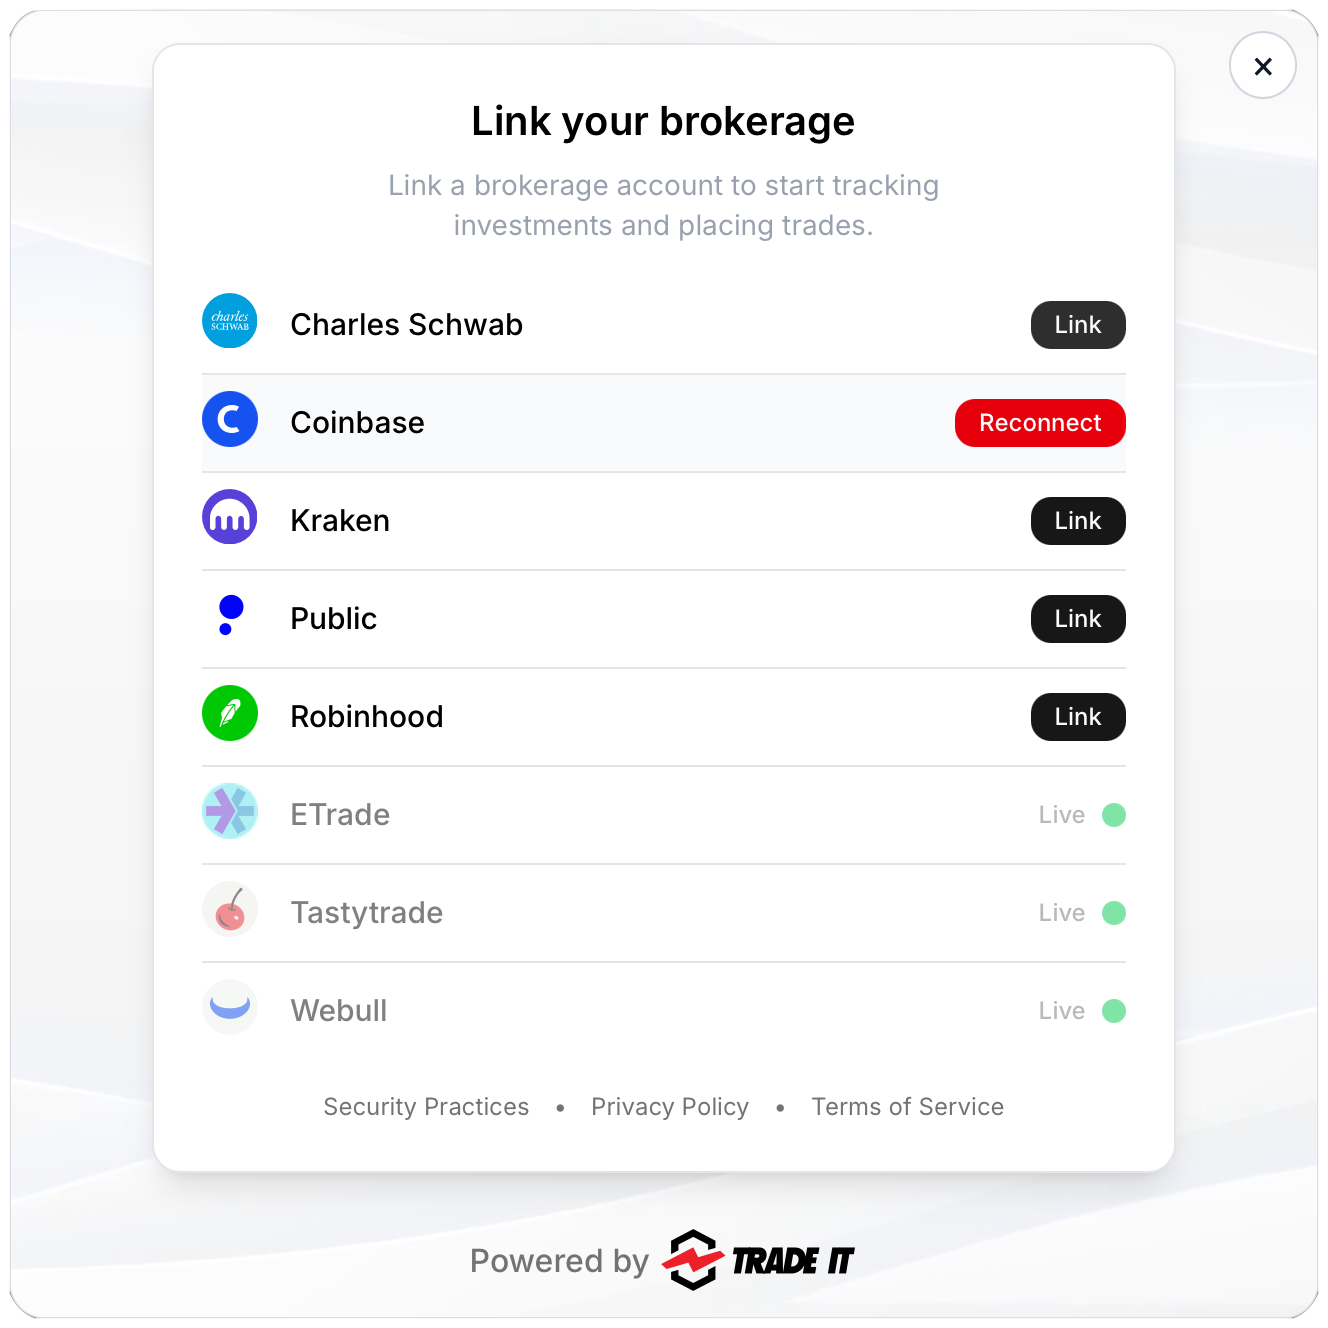
Step 1: Select a Brokerage
Trade It opens a brokerage picker inside your site. Users choose from supported brokerages, and existing/expired connections are labeled clearly.
Step 2: Complete Brokerage Authentication
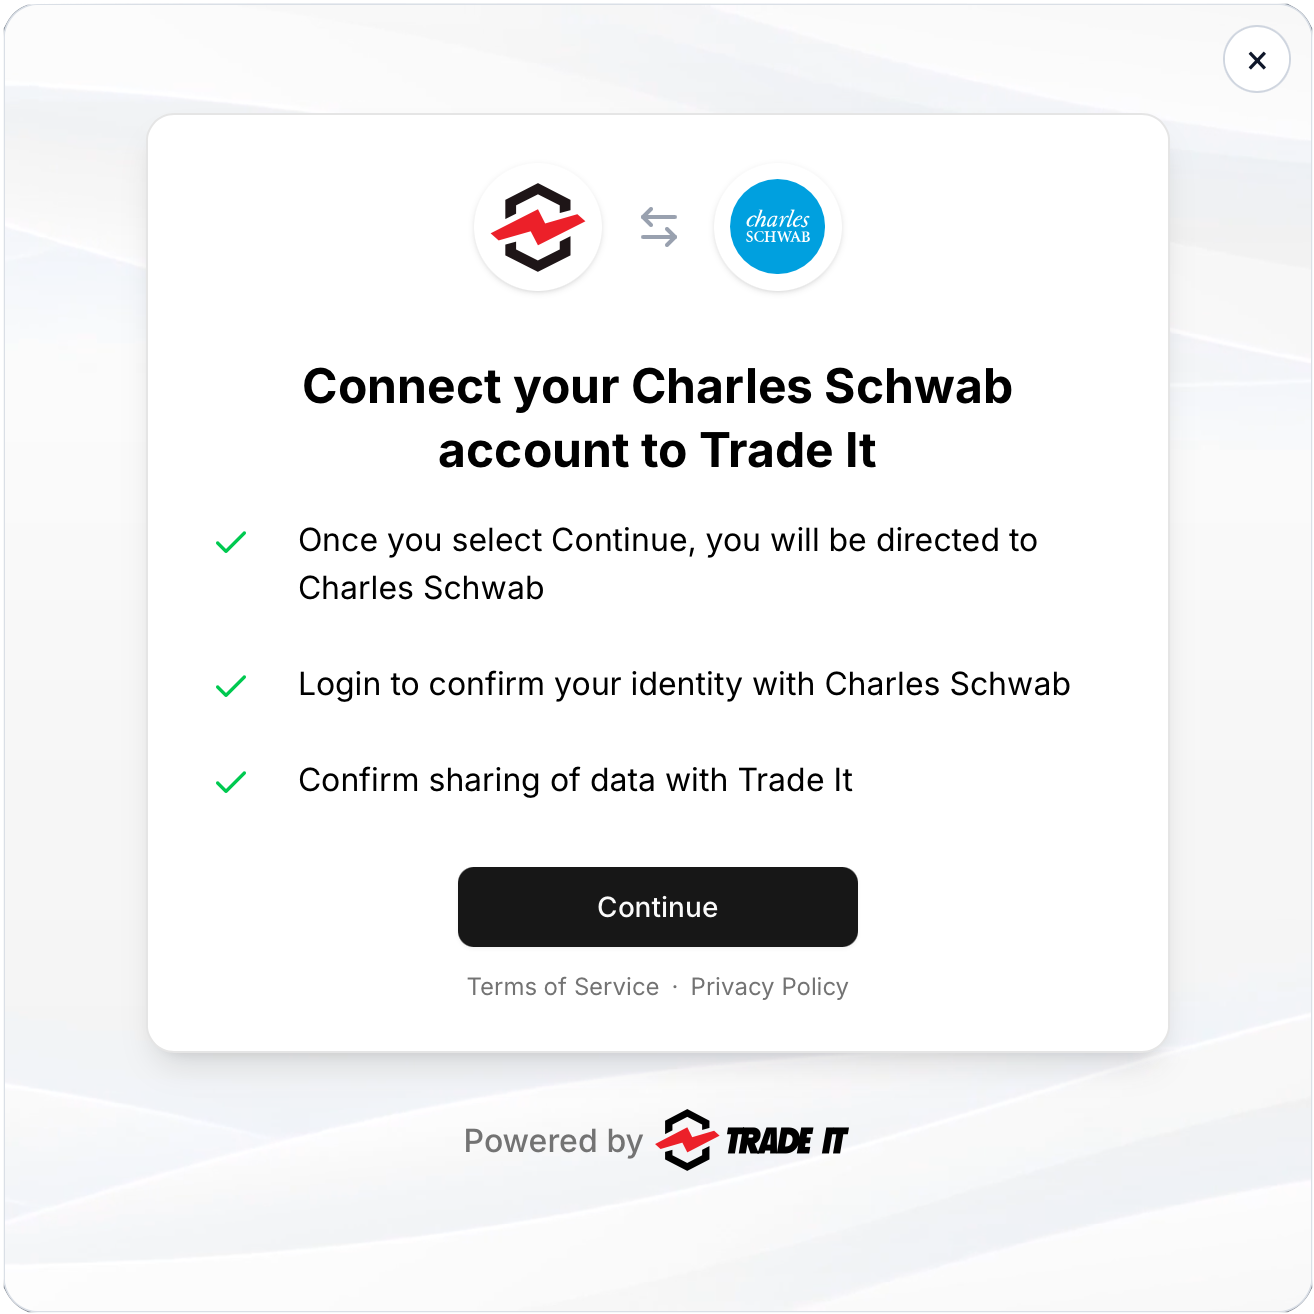
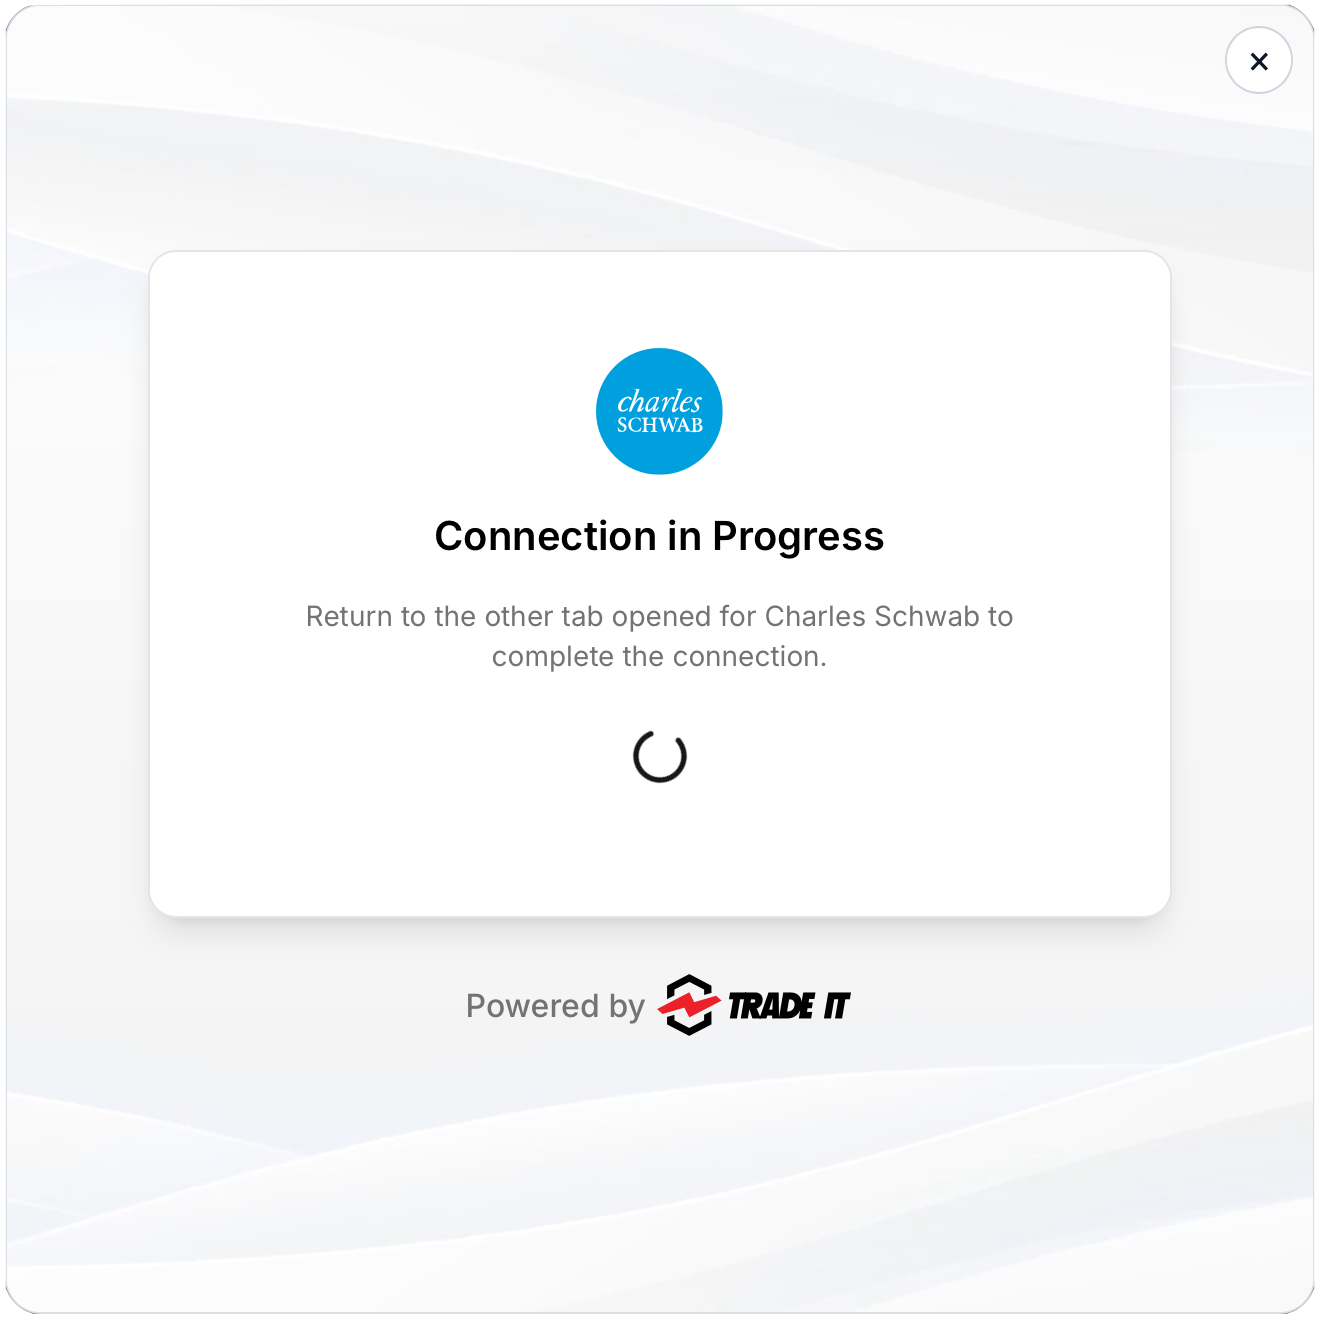
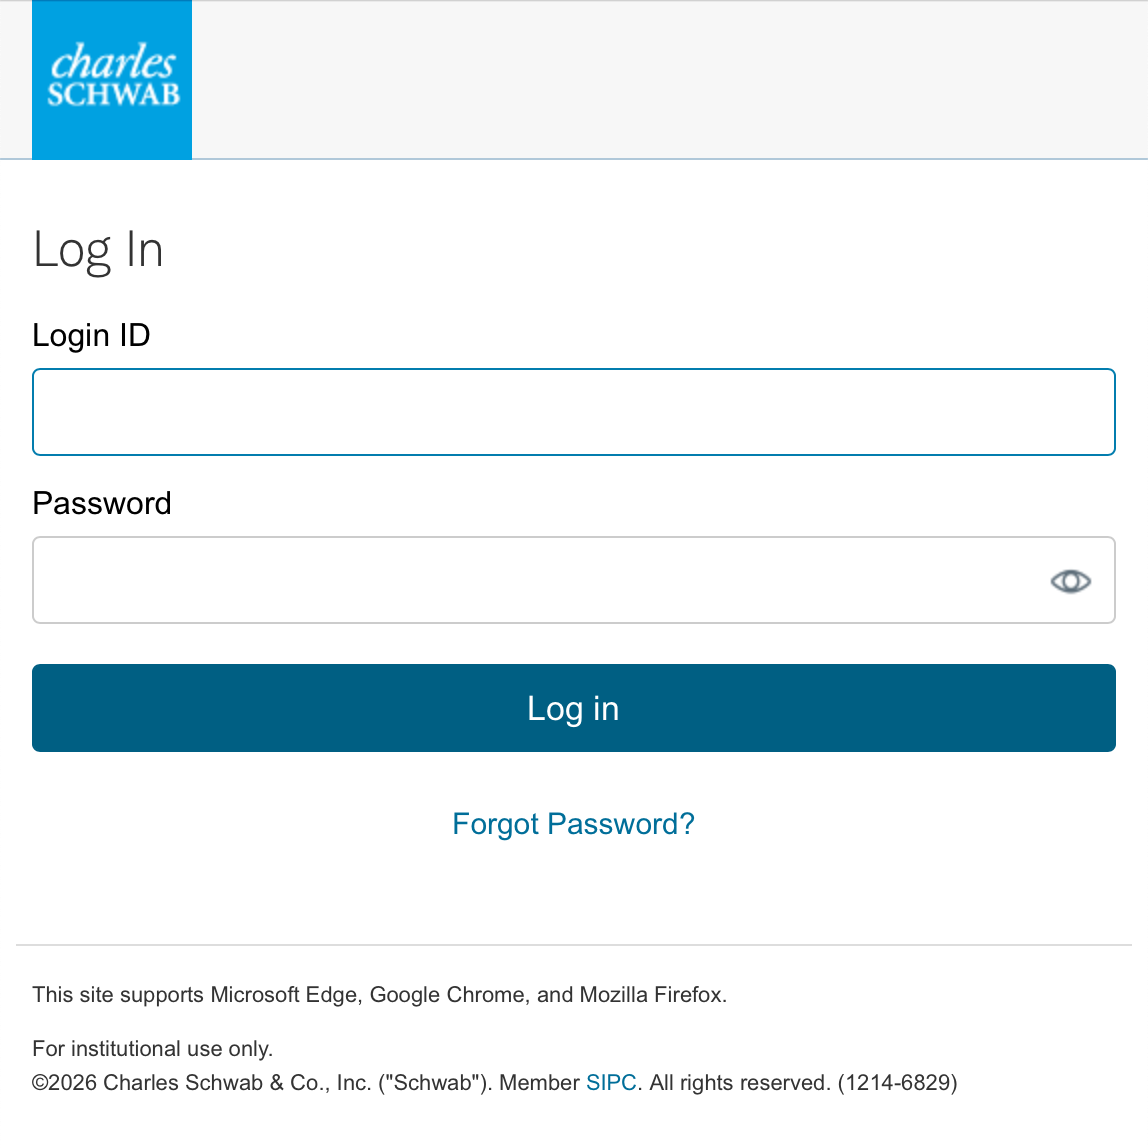
After selection, Trade It starts that brokerage's auth flow. Depending on brokerage behavior, users may be redirected to an auth tab/window while the modal tracks progress.
Step 3: Return to Your Platform
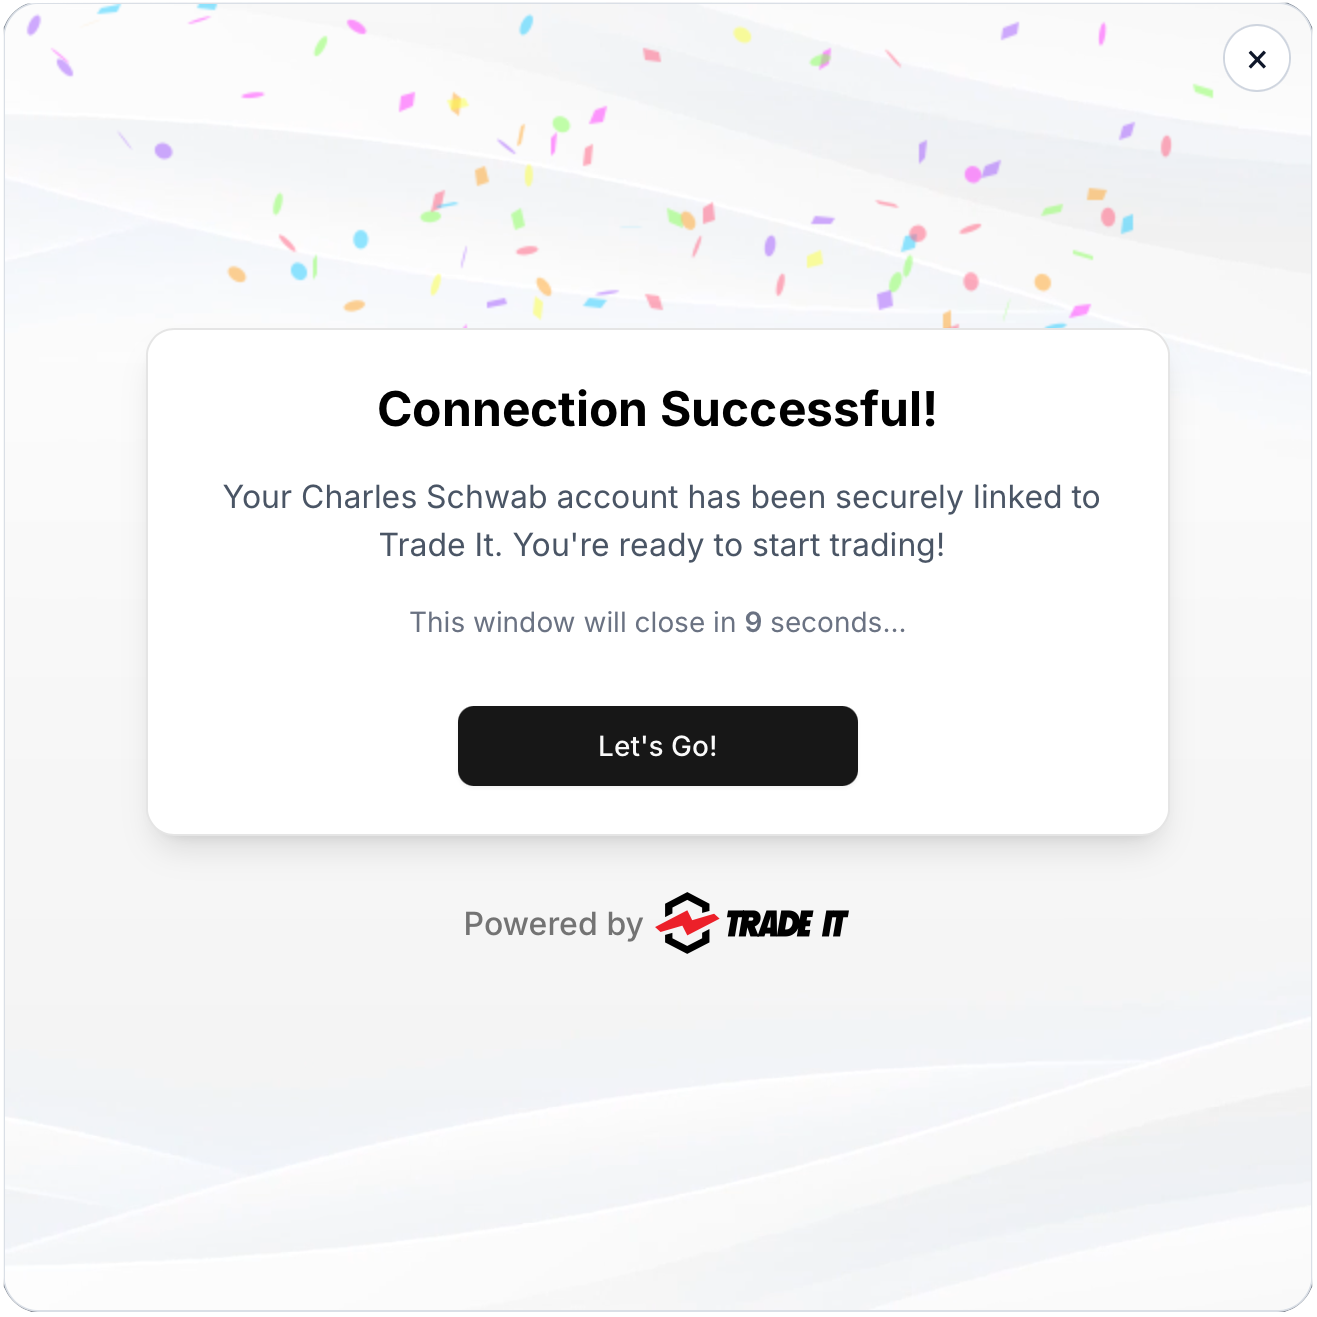
After success, Trade It confirms completion and hands control back to your client-side flow so users can move directly into trading.
Next: Read accounts after the user completes connection.